

I went right to amazon.com and ordered a roll for myself.

My cabinet width was 24" and the contact paper is 18" so I measured 3" on each side (24-18=6/2=3) to center the roll. I also cut it to 30" tall and eyeballed how high I wanted it to go.

I carefully peeled off a few inches from the top and placed it down.

Then, unpeeling a few inches of the backing at a time, I carefully smoothed all the bubbles out. I first tried using a credit card, but I found it made tiny little nicks so I just used my hand.

After it's up, you have to prime the chalkboard by rubbing a piece of chalk on its side across the entire surface. Erase the chalk and then it's ready to use.

To dress it up a little, I wanted to put a frame of moulding around it. I took a picture on my phone of the moulding around the doorway of the kitchen so I could find something similar at Lowes. I came home with a pre-primed piece that looked great. Even though it was primed already, you should still sand down to make a perfectly smooth surface.


I haven't quite gotten over my fear of power tools so I'm still using a miter box, but it really wasn't so bad cutting all the angles. It just took about 200 times longer than if I had a compound miter saw. Oh well...

This vinyl adhesive caulk worked great for attaching all the sides together.

I don't have any clamps either, so some frog tape came in handy keeping the pieces together until it dried. (Just a word of advice - even though it says you can paint after two hours, that doesn't mean it's actually dry after two hours so do yourself a favor and leave it overnight. Just saying.... :-)

My favorite way to temporarily hang something up is by using the amazing Command strips.
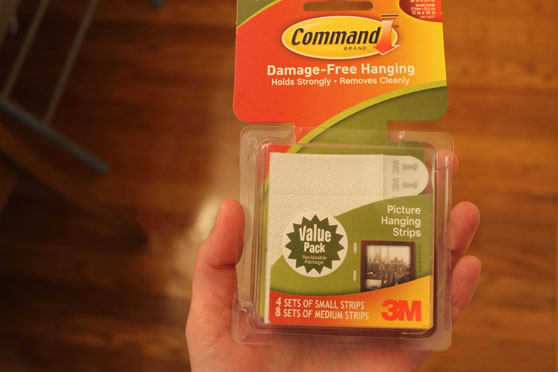
Just four sets of these velcro strips and it's not going anywhere!

Make sure to use a level so you know it's straight. And if it's not, it's as easy as pie to adjust it!

Now I've got a great memo board / message spot / menu / shopping list / etc. etc. that the whole family can see when we go in and out of the kitchen! Love it!

Do you also write like a third grader whenever a piece of chalk ends up in your hand, or is it just me?


Linking up here:
Today's Creative Blog | It's Just Called Spicy | At the Picket Fence | Craftionary | Serenity Now | DIY Showoff | It's Overflowing | Creative Jewish Mom | Today's Creative Blog | Remodelaholic |
I love chalkboards! This is such a clever idea. Thanks for sharing :)
ReplyDeleteI have an inhome preschool. That would be awesome! Thanks!
ReplyDeleteNewest follower from July's blog hop! Love for you to stop by Naptime Review and return the follow. Hosting Mom's Monday Mingle now. Love for you to link up. Last week we hit 200! Love to have you!
www.thenaptimereview.com
Brilliant, gotta get some of that contact paper on my next trip to the US! So great to "meet" you and thanks so much for sharing on Craft Schooling Sunday! Tzom Kal and all the best!
ReplyDeleteYou have given very nice information about Removable and black Chalkboard. I really need purchase this chalkboard for teaching purpose. So thanks for share this fantastic blog.
ReplyDeleteA chalkboard in my kitchen is still totally on my list, too! Featuring you today! XO, Aimee
ReplyDeleteThis is such a cool idea! I haven't figured out where to put the message station in the home we just moved into, but this has given me an idea. Since we're in a rental, something removable is the way to go.
ReplyDeleteI love the idea of using molding to make a frame! It turned out so nice.
ReplyDeleteI did something similar with chalkboard contact paper - except I used an existing frame and a piece of cardboard to stick the chalkboard paper to. We rent & whatever paint they used sucks. Even blue painters tape takes the paint up & those command hooks refuse to stick!
I use a chalk pen & find that my handwriting looks significantly less like a kindergartner's (although it's wet erase, not dry erase).
Sarah